Year 10 (ages 14–15, Grade 9 in the US) · Computing · GCSE programming · Lesson 14
Trace tables
Using trace tables to follow a program line by line: recording variable values and outputs through sequence, selection and loops, and using tracing to find logic errors.
Exam boards: this lesson matches the AQA and Pearson Edexcel GCSE computing courses. Check which course your school follows.
9-minute video lesson
Teaching, worked examples and 20 practice questions solved step by step.
Watch free for a monthWhat your child will learn
- Explain the purpose of a trace table
- Complete a trace table for a loop
- Record output correctly
- Use tracing to find logic errors
The method
- One column per variable, plus Output.
- Go line by line; write a new value when it changes.
- For loops: one row per pass.
- Check the final values match what should happen.
Key words: trace table, dry run, variable, output, iteration.
Worked examples
Worked examples from the lesson, with every step.
Question 1
Trace: list the values of x and the output. c:x = 2 c:while x < 20: c: x = x * 3 c:print(x)
- Step 1: 2, 6, 18, 54
- Step 2: 54 (printed after the loop)
Answer: x: 2, 6, 18, 54; output 54
Question 2
Trace: what is output? c:a = 5 c:b = 3 c:a = a + b c:b = a - b c:print(a, b)
- Step 1: a = 5 + 3 = 8
- Step 2: b = 8 − 3 = 5
Answer: 8 5
Question 3
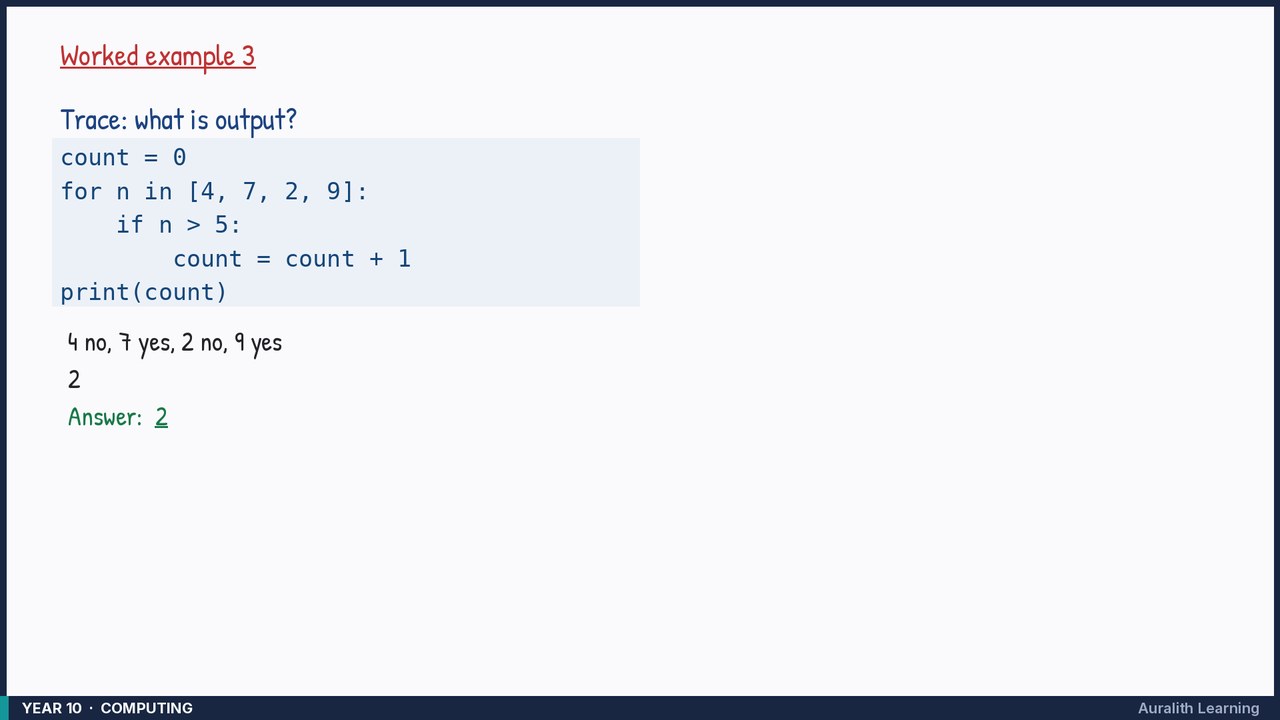
Trace: what is output? c:count = 0 c:for n in [4, 7, 2, 9]: c: if n > 5: c: count = count + 1 c:print(count)
- Step 1: 4 no, 7 yes, 2 no, 9 yes
- Step 2: 2
Answer: 2